Module 5 - Installing OptaSense OS6
Introduction
This module describes the first-time installation of the OS6 OptaSense GUI and can also be used to support when updating the software to the latest release.
Preparing for the Install or Update of OS6 Software
Ensure that before installing or upgrading a system, confirm the current config is exported. Some or all of the following may be required to complete an installation:
- A complete Config folder
- The system description file
- System maps. These will either be kept in the config folder for standalone installations or on the C:\ drive of the CU for networked installations. Maps are usually stored in a maps folder. Observe the full folder path when copying to other CUs
- A software license. The software license export will provide the necessary information required to gain a licence if one doesn’t already exist
- A copy of the appropriate installer
OptaSense Software Install or Update
OptaSense regularly releases minor and critical updates. The process for installing both is the same unless there have been hardware configuration changes in which specific release notes are issued. In all cases, the series of actions to perform are the same. Please note to upgrade from one major version to another, requires a discussion with OptaSense, as invariably there will be compatibility issues.
If you are installing OS6 to an additional CU only and not to the entire system, then the system does not need to be stopped. Instead, proceed directly to Installing OptaSense.
Before installing or updating the software the following actions should be undertaken:
- Read the release notes carefully to check for any specific installation instructions and compatibility issues.
- Check that the system is complete and that all nodes are in communication with each other. This can be done either via command prompt and ping or with the network checker1.
- Make a backup of the current system Config.
- Stop all system processes
- Uninstall the previous release of software from all CU’s connected to the system.
System Licencing
At various points it may be necessary to provide licences for the OS software. Licences can be obtained/created on the auth server or by contacting OptaSense Support. If a licencing window appears - Figure 1 – press Save System Information and send the generated licence request file to the appropriate party.
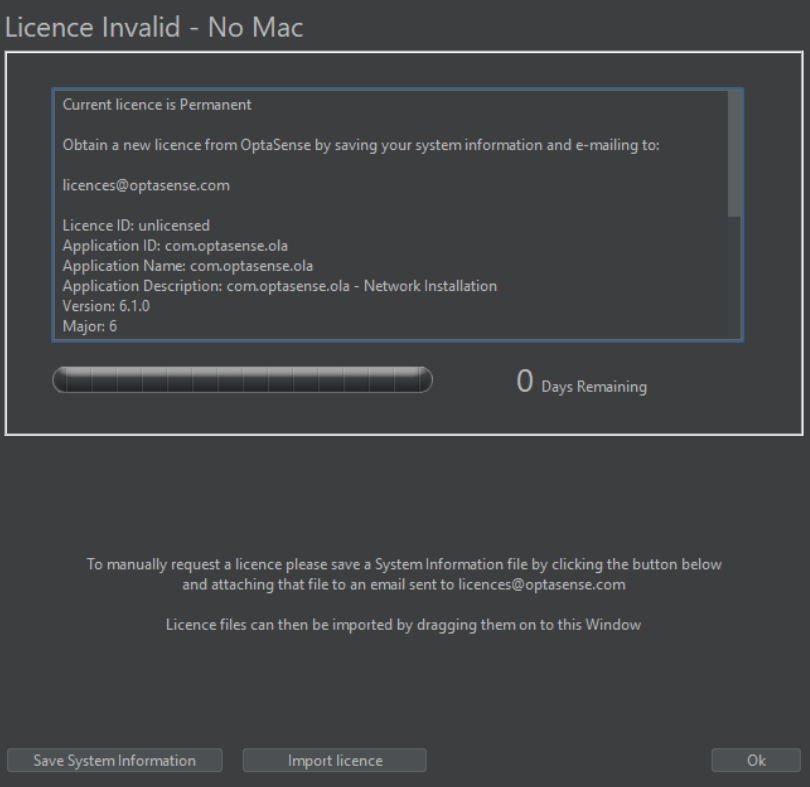
Figure 1: Licence Window
Having received the licence (.lic) file from OptaSense, drag and drop the file into the licence window. If the licence is accepted, the window will change to indicate that it was successful and the length of time remaining on the licence. The number of days remaining on the licence will be indicated or in the case of permanent licences an infinity () will be displayed.
Once licenced, press OK to continue.
Installing OptaSense
If installing OS6 onto a new CU, it is not required to change any system functionality, and the new CU can join the existing installation.
The process for installing is as follows:
- Open the OS6 setup application
- A User Account Control window may open asking “Do you want to allow the following” program from an unknown publisher to make changes to this computer?’ Select Yes.
- The OS6 setup wizard will start (Figure 2). Select Next.

Figure 2: OptaSense 6 Setup Window
- The Choose Install Location window opens (Figure 3). The destination folder is already populated. Select Install.
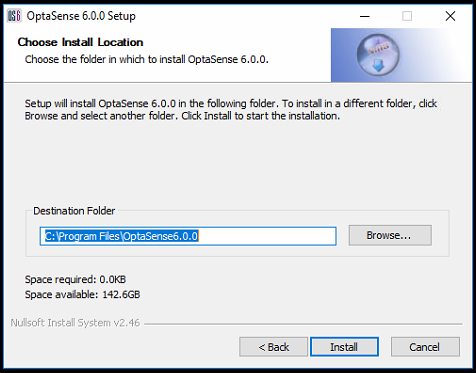
Figure 3: Choose Install location window
- The software will then be installed at the chosen location.
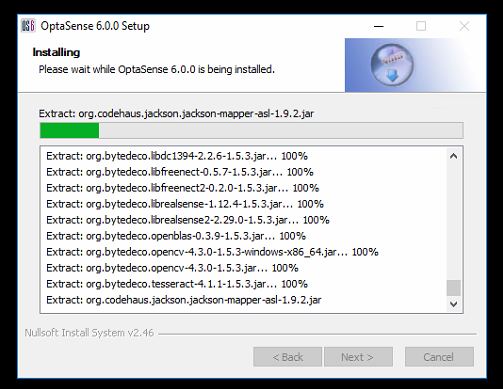
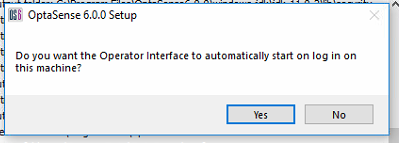
Figure 4: Software Installation
- An option to have the software automatically start on log in appears next. This is set to the preference of the client.
- The setup wizard completion window opens (Figure 5). Select Finish.
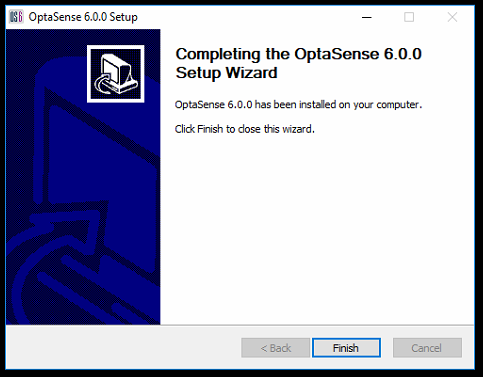
Figure 5: Completed Setup Wizard
- Repeat these steps for each CU on the system
First time install OS6 specifics
The following actions need to be performed during a first-time install. They will not need to be applied during an update or when adding an additional CU is added.
Starting OptaSense OS6
The following steps need to be followed to configure the system.
- Run the System Install Scheduler from the Windows start menu (Figure 6).
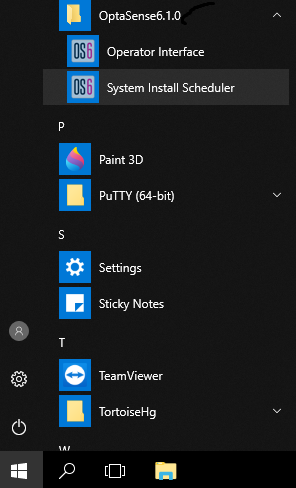
Figure 6: Launching System Install Scheduler
- A warning window will appear informing the user the application can be used to make architectural changes to the system (Figure 7). Click Yes to proceed.
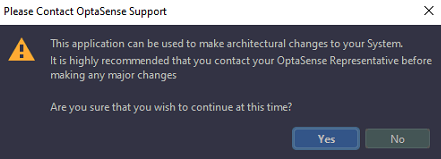
Figure 7: Agree to making system changes
- Enter the IP address of the system and press Next (Figure 8). For a system that is made up of multiple nodes, choose the IP address of the first node.
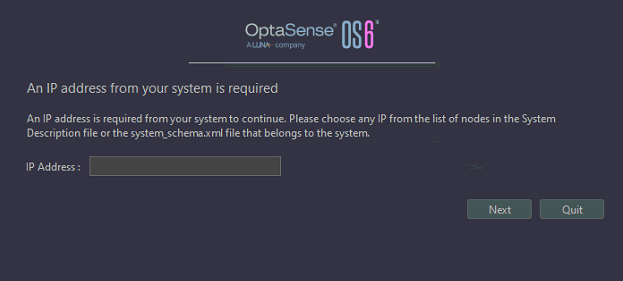
Figure 8: Enter the System IP Address
- A notification window appears informing the user that the system would like to perform a new system install (Figure 9). Select Close.
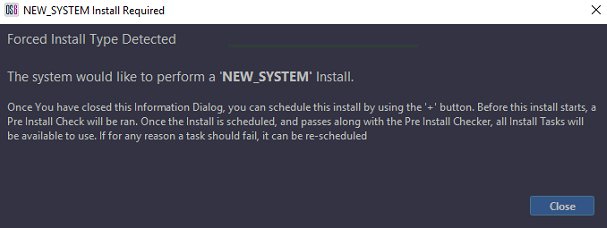
Figure 9: Notification of new system install
- To start the process of setting up the system, click the + symbol and select New System (Figure 10).
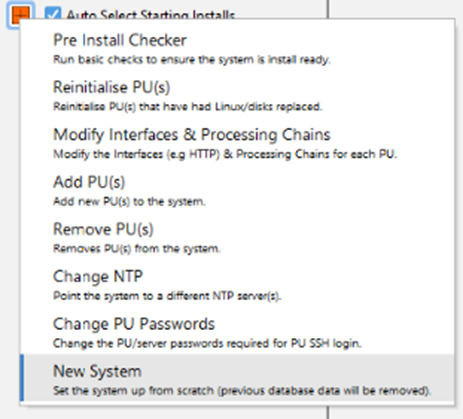
Figure 10: Create New System
- A Config selection window will appear (Figure 11). Click Select Your Config and browse to the config that is going to be used on the system then click Open.
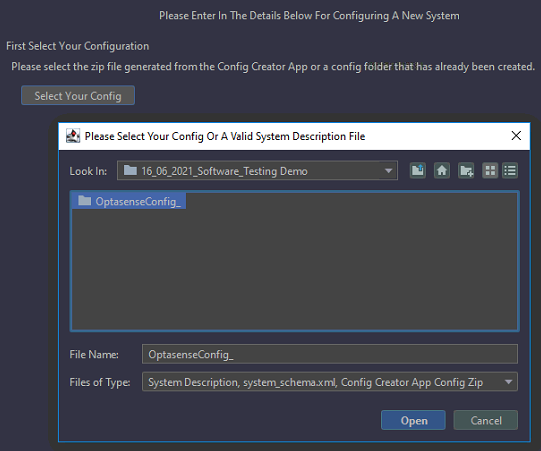
Figure 11: Importing System Config
-
A box will appear asking for the IP address of the NTP source. Enter the IP address of the NTP server and click Next.
A check will be performed that the NTP server is contactable. Text will appear in green if the system has successfully connected to the NTP source. The text will appear red if it was unsuccessful. Note: In OS6, the use of an NTP server is mandated. This will either be an NTP server provided by the client or the use of an OptaSense provided GPS/Modem unit enabled for NTP functionality.
-
Click Continue
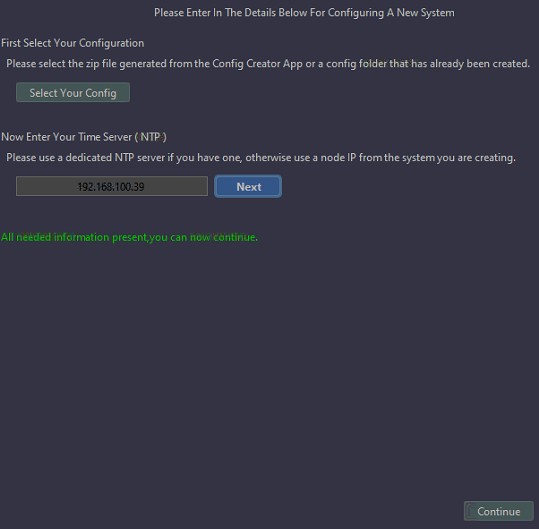
Figure 12: Confirm NTP Source is Pingable
-
The system will than ask for confirmation of the current system wide PU password. In the unlikely scenario that there are mismatched PU passwords, this display allows the current password to be specified on a per PU basis. Click confirm to proceed to the next step.
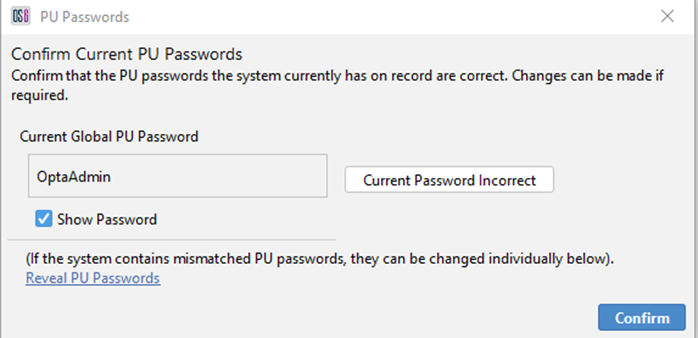
Figure 13: Confirm System Wide PU Password
-
The final step will ask for the desired system wide PU password to be specified. If the password does not need to be changed from the current password, you can proceed without making any changes. Once confirmed, the new system task will run on the main display.
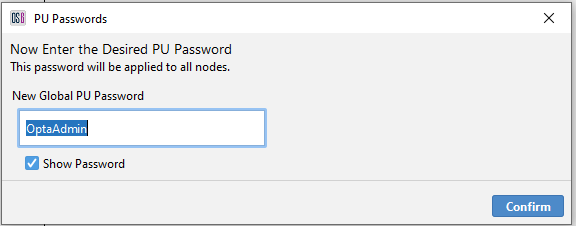
Figure 14: Enter Desired System Wide Node Password
- The scheduler will run through a series of tests to ensure the system meets the minimum requirements to launch the software. Once the tests have passed, the scheduler will configure the system. Tasks will change to green as they are successfully completed (Figure 15). Failed tasks will show as red. Details of why a task has failed are displayed to the right of the window by selecting the task. On successful completion of both tasks, the scheduler can be closed.
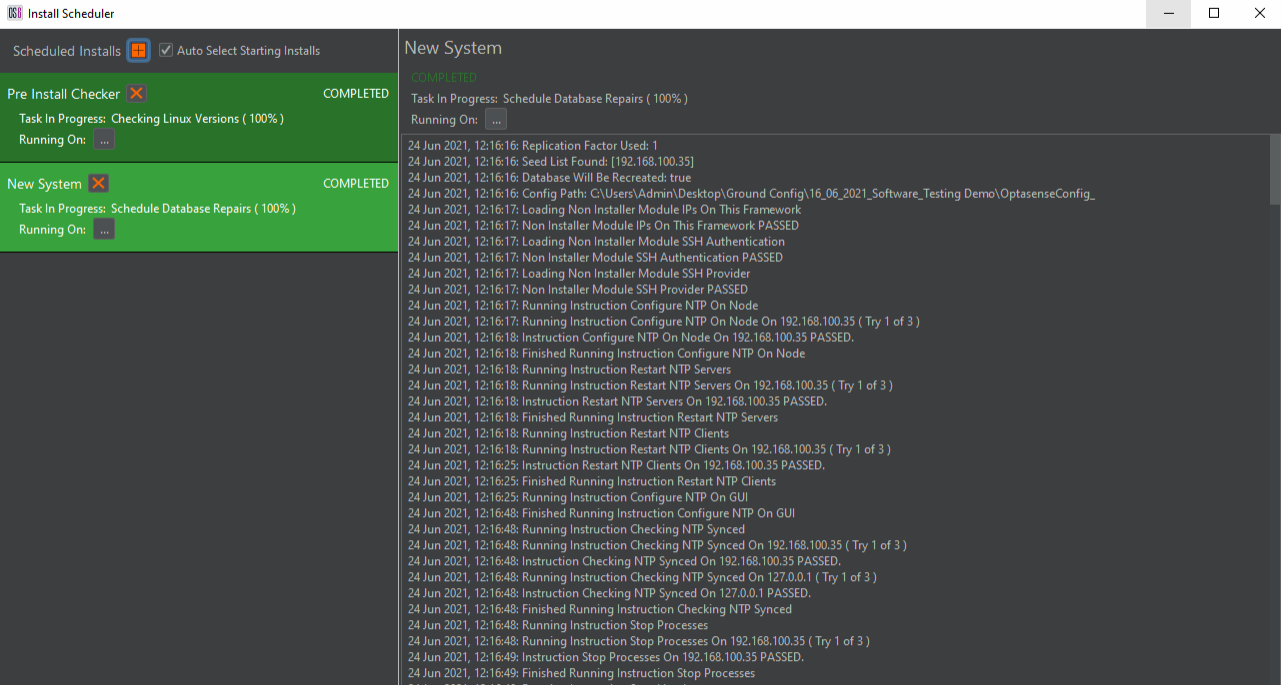
Figure 15: Configuring Process
First time running on a new CU
After a new system install or when connecting a new CU to an existing system the next step is to launch the OS6 Operator Interface software from the Start menu. If the CU that the software is being launched from has previously connected to the system then it will attempt to access that system again, otherwise the software will request an IP address of the system to be connected to.
Starting OptaSense OS6
After initial loading the login screen is displayed (Figure 14).
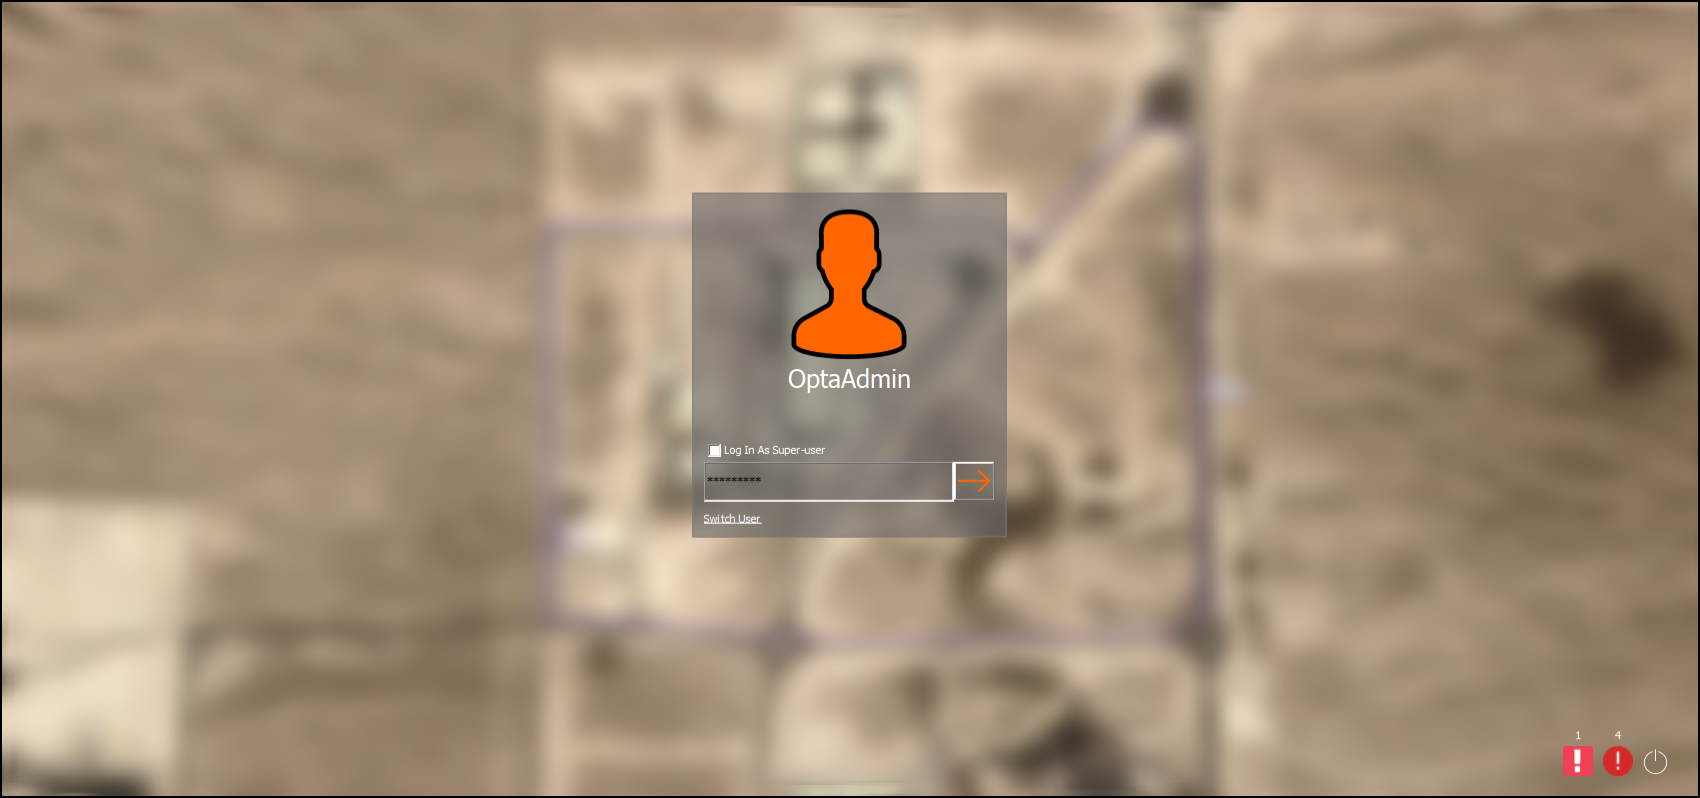
Figure 16: User Login Screen
When a successful login occurs for the first time (per user), a welcome to OS6 wizard is displayed, guiding the user through the main features built into OS6.
Accounts and Roles
The accounts on a system can be modified via Configure > Account Management. The Account Management window displays the users configured for the system (Figure 15). New users can be added by clicking the ‘New User’ button. Note: The access that a user has will depend on their own user type. For instance, Light Users will only have the access rights to change their username and password.
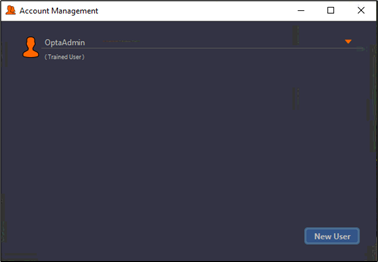
Figure 17: Adding a User from the account management window
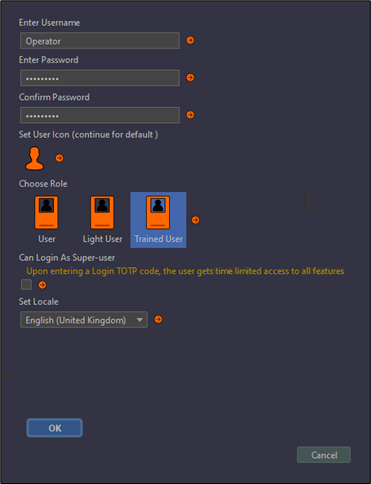
Figure18: Adding user details
The user details can then be populated and assigned the suitable role (Figure 16). Once complete, press OK and the new user will appear in the account management window.
Threat Filtering
Threat filtering allows configuration of the alerts that will be seen on the system. The configuration panel can be set by going to Configure > Wizard > Alert Filtering (Figure 18). Here, the CU can be configured to show specific alert types and levels. This is specific to the CU allowing different CUs to be setup to monitor different aspects of a system. It is also possible to configure alert expiry times by selecting the icon to the right of the red alert. The alert expiry time determines how long an alert type will remain on the map window.
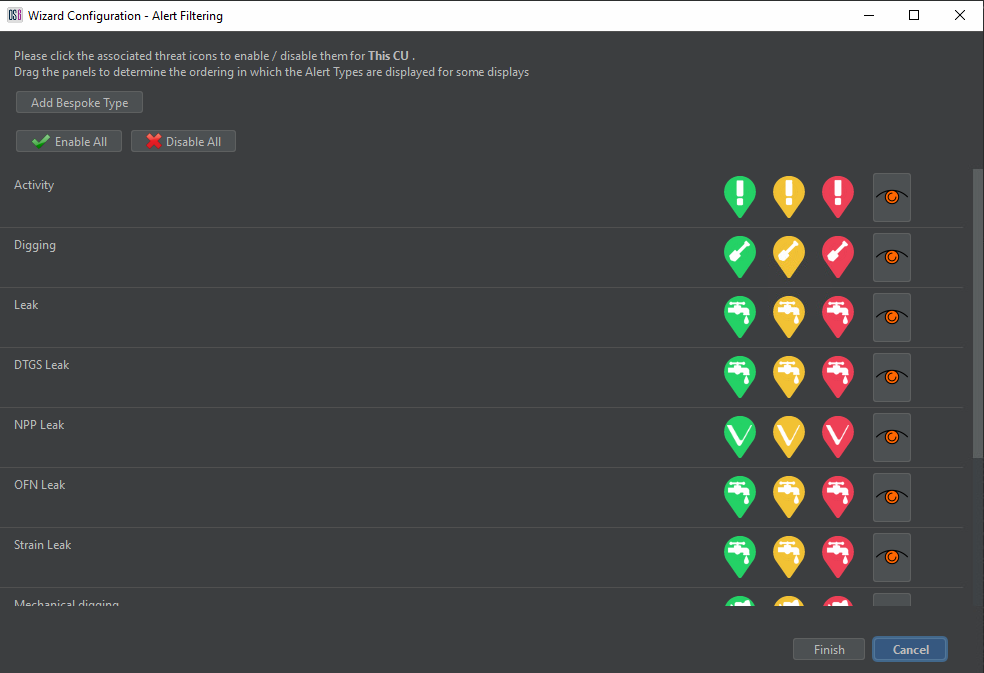
Figure 19: Alert Filtering
OPS Filtering
OPS filtering allows a CU to be configured to only see certain OPSs. The configuration panel (Figure 19) can be accessed by going to Configure > Wizard > OPS Filtering. In a multi-OPS system, the operator can deselect any available OPS. This means that no GUI information/alert data is displayed about that specific OPS. As with alert filtering, changes here are applied only to an individual CU.
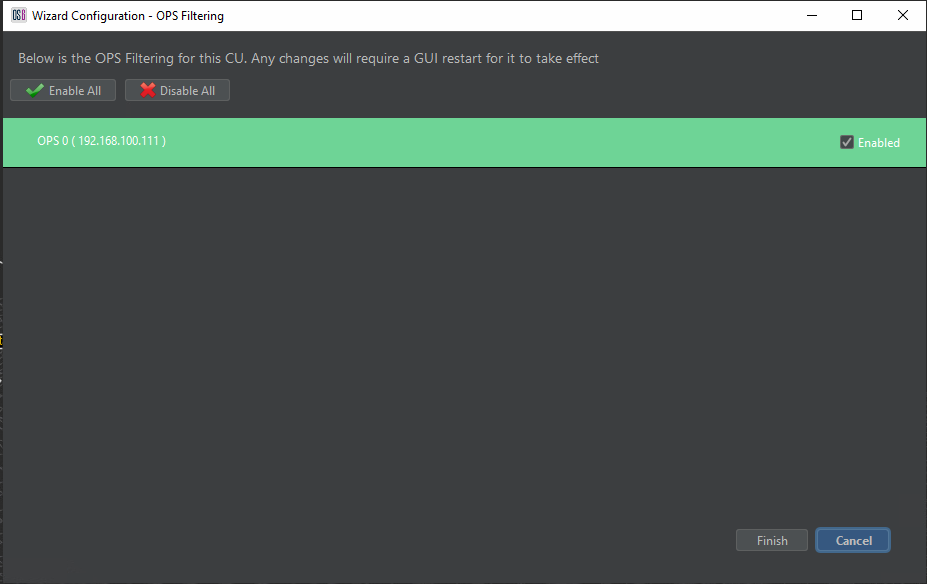
Figure 20: OPS Filtering